Magic WP News Theme
A fantastic and professional News/Magazine layout, and more.
A fantastic and professional News/Magazine layout, and more.
Download the zipped theme pack to your local computer from themeforest and extract the ZIP file contents to a folder on your local computer.
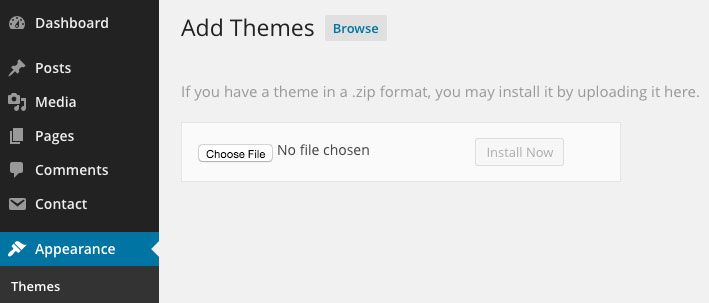
Step 1 – Navigate to Appearance > Themes.
Step 2 – Click Install Themes and hit the upload button.
Step 3 – Navigate to find the “magic-mag.zip” file on your computer and click “Install Now”
Step 4 – Once uploaded, activate the theme. Go to Appearance > Themes and activate it.
Download the zipped theme pack to your local computer from themeforest and extract the ZIP file contents to a folder on your local computer.
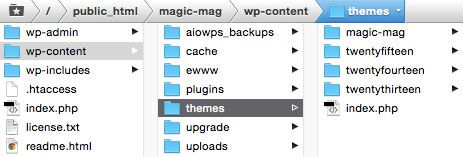
Step 1 – Log into your hosting space via an FTP software
Step 2 – Unzip the magic-mag.zip file and ONLY use the extracted magic-mag theme folder
Step 3 – Upload the extracted magic-mag theme folder into wp-content > themes folder
Step 4 – Activate the newly installed theme. Go to Appearance > Themes and activate it.
Envato have developed the Envato Toolkit Plugin for WordPress. You can use this to receive notification of updates to themes purchased from ThemeForest and to automatically update (upon clicking) directly from within your WordPress admin area.
Download the plugin zip file to your computer.
Step 1 – Unzip the package and locate magic-mag.zip in the theme folder.
Step 2 – Go to Appearance > Themes and activate another theme such as the default WordPress theme.
Step 3 – Delete the magic-mag theme which is now inactive.
Step 4 – Go to Install Themes > Upload then install and activate magic-mag.zip from the new package.
Download the zipped theme pack to your local computer from themeforest and extract the ZIP file contents to a folder on your local computer.
Step 1 – Unzip the package and locate magic-mag.zip in the theme folder.
Step 2 – Go to Appearance > Themes and activate another theme such as the default WordPress theme.
Step 3 – Delete the magic-mag theme which is now inactive.
Step 4 – Go to Install Themes > Upload then install and activate magic-mag.zip from the new package.
Step 0 – Log into your site as an administrator.
Step 1 – Make sure you activated your new theme before proceeding.
Step 3 – Go to Tools → Import
Step 4 – Choose “WordPress” from the list.
Step 5 – Upload the demo content .xml using the form provided on that page.
Step 6 – You will be asked to map the authors in this export file to users on the blog. For each author, you may choose to map to an existing user on the blog or to create a new user.
Step 7 – You will then have the choice to import attachments, so click on the “Download and import file attachments” box.
Step 8 – Please be patient while WordPress imports all the content. Posts, Pages, Projects, and Menus are imported. You will need assign the menu a theme location & you’ll need to configure widgets. This is a limitation of WordPress’ import system.
Change the language in the admin settings screen. Settings > general > Site Language.
Step 0 – Open wp-config.php and replace this: define ('WPLANG', ''); with this (subsitute the language string (bg_BG) with your own!): define ('WPLANG', 'ar_EG');
Step 1 – Download and install POEDIT
Step 2 – Connect to your site -> open your theme/languages directory
Step 3 – Download the default.po file and open it with POEDIT.
Step 4 – Translate file and save it as ar_EG ( the file name must match with the string you inserted into wp-config.php )
Step 5 – Two files will be generated after save. ar_EG.po and ar_EG.mo
Step 6 – Upload the .mo and .po files into wp-content/themes/your-theme/languages folder
You just need to install the theme on RTL wordpress blog and it will adjust automatically .. check this page for more informations .
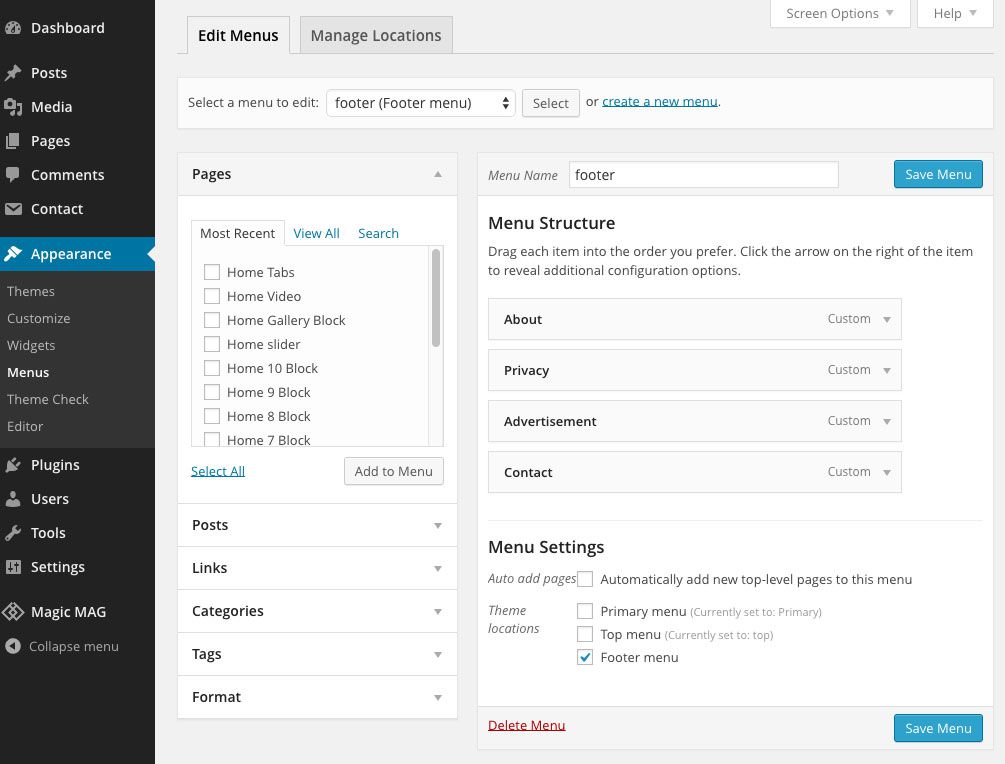
To create a custom navigation menu
Step 0 – Go to Appearance > Menu
Step 1 – Click on "create a new menu" to create a new menu (eg. Main Menu).
Step 2 – Add the menu items from the left panels
Step 3 – To create dropdown menu: drag the menu item toward the right (the item(s) will be indented)
Step 4 – When you are done adding the menu items, click "Save Menu"
To assign menu locations
Step 0 – Scroll down to the bottom where it says "Theme locations" and tick the menu location checkbox
Step 1 – Primary menu = main menu in the header
Step 2 – Top menu = top menu in the header
Step 3 – Footer menu = footer menu in the footer (note: some themes might not have Footer Navigation)
Tips: the custom menu can also be used with the widget ( GO to Appearance > Widgets and drop in the Custom Menu widget ). You may create additional menus by clicking the "create a new menu" link.
The "Custom Links" panel allows you to add menu link to external URL. For example you can create a link to Bdayh by entering:
Step 0 – URL = http://bdayh.com
Step 1 – Label = Bdayh

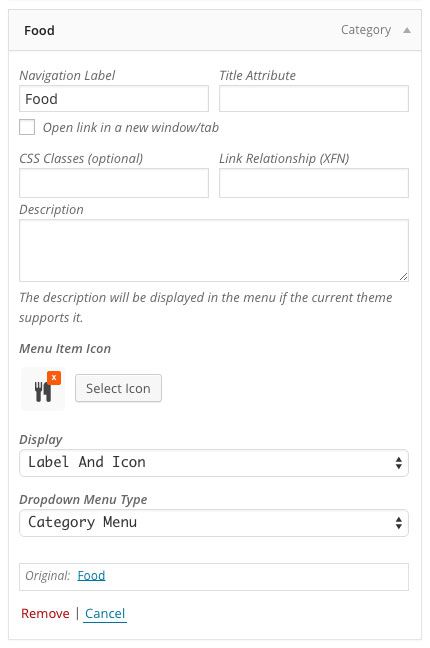
MegaMenu with sub-categories
Step 0 – Go to Appearance > Menu
Step 1 – Add a category in your menu and select a Category menu from here

MegaMenu with Lists
Step 0 – Go to Appearance > Menu
Step 1 – Check From here
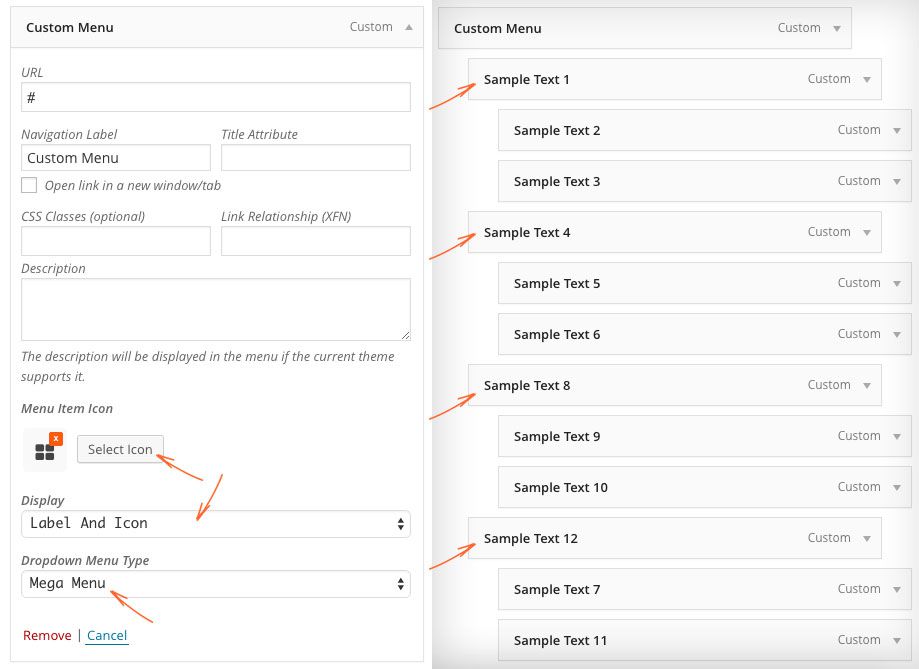
Go to Appearance > Menu > Custom Link > Select icon
AND Choose Icon Display (Just Icon - Lable And Icon - Just Lable)
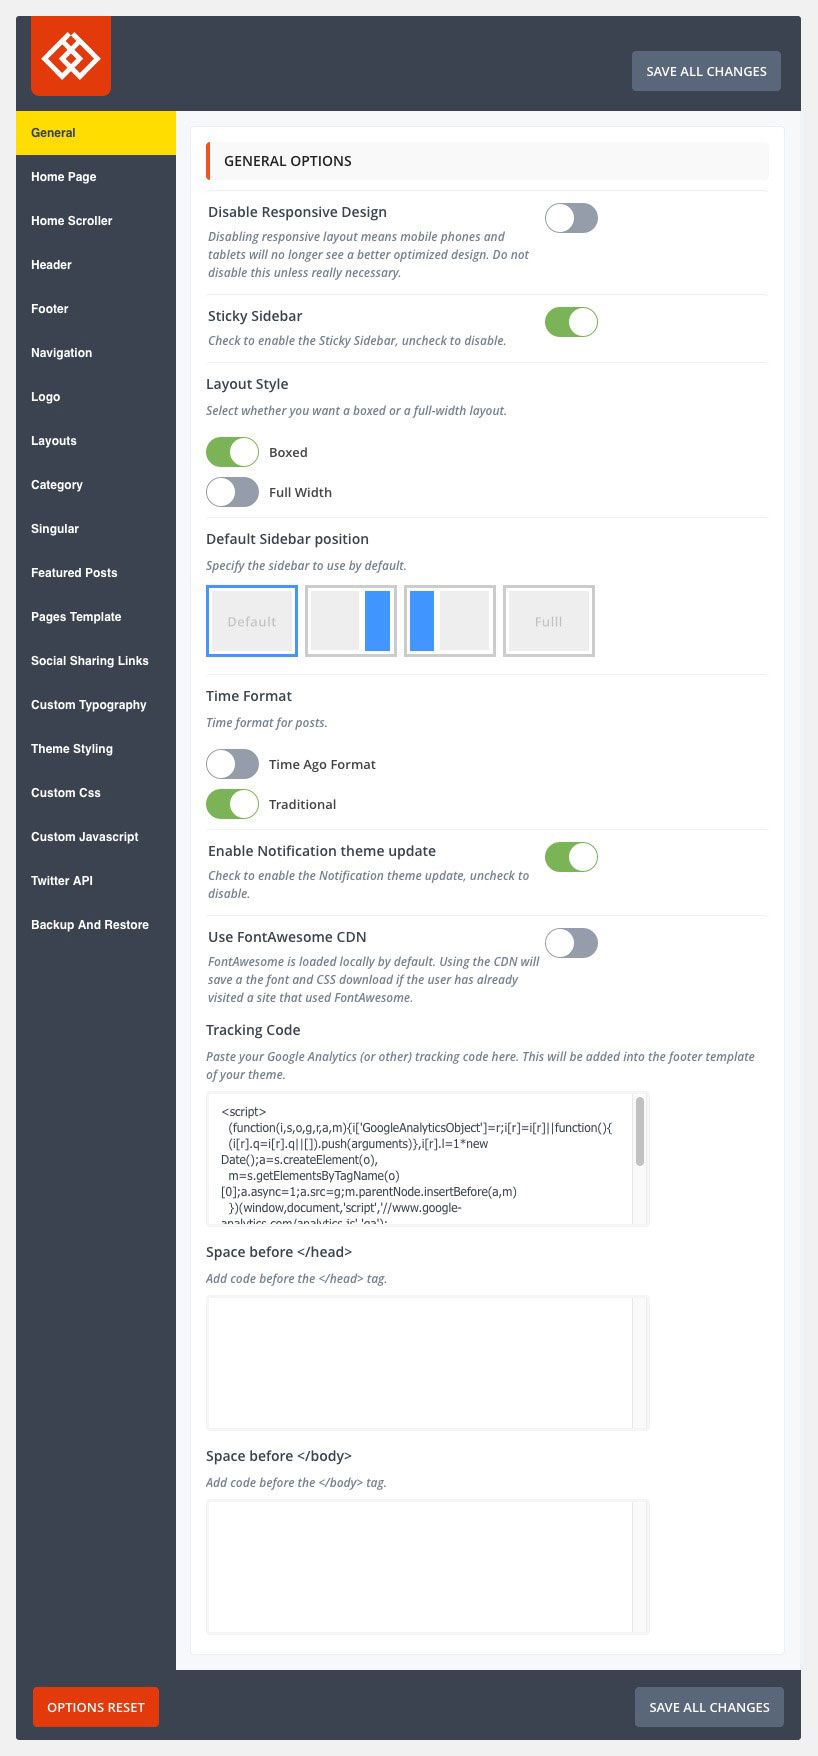 General Options
 Home page Options
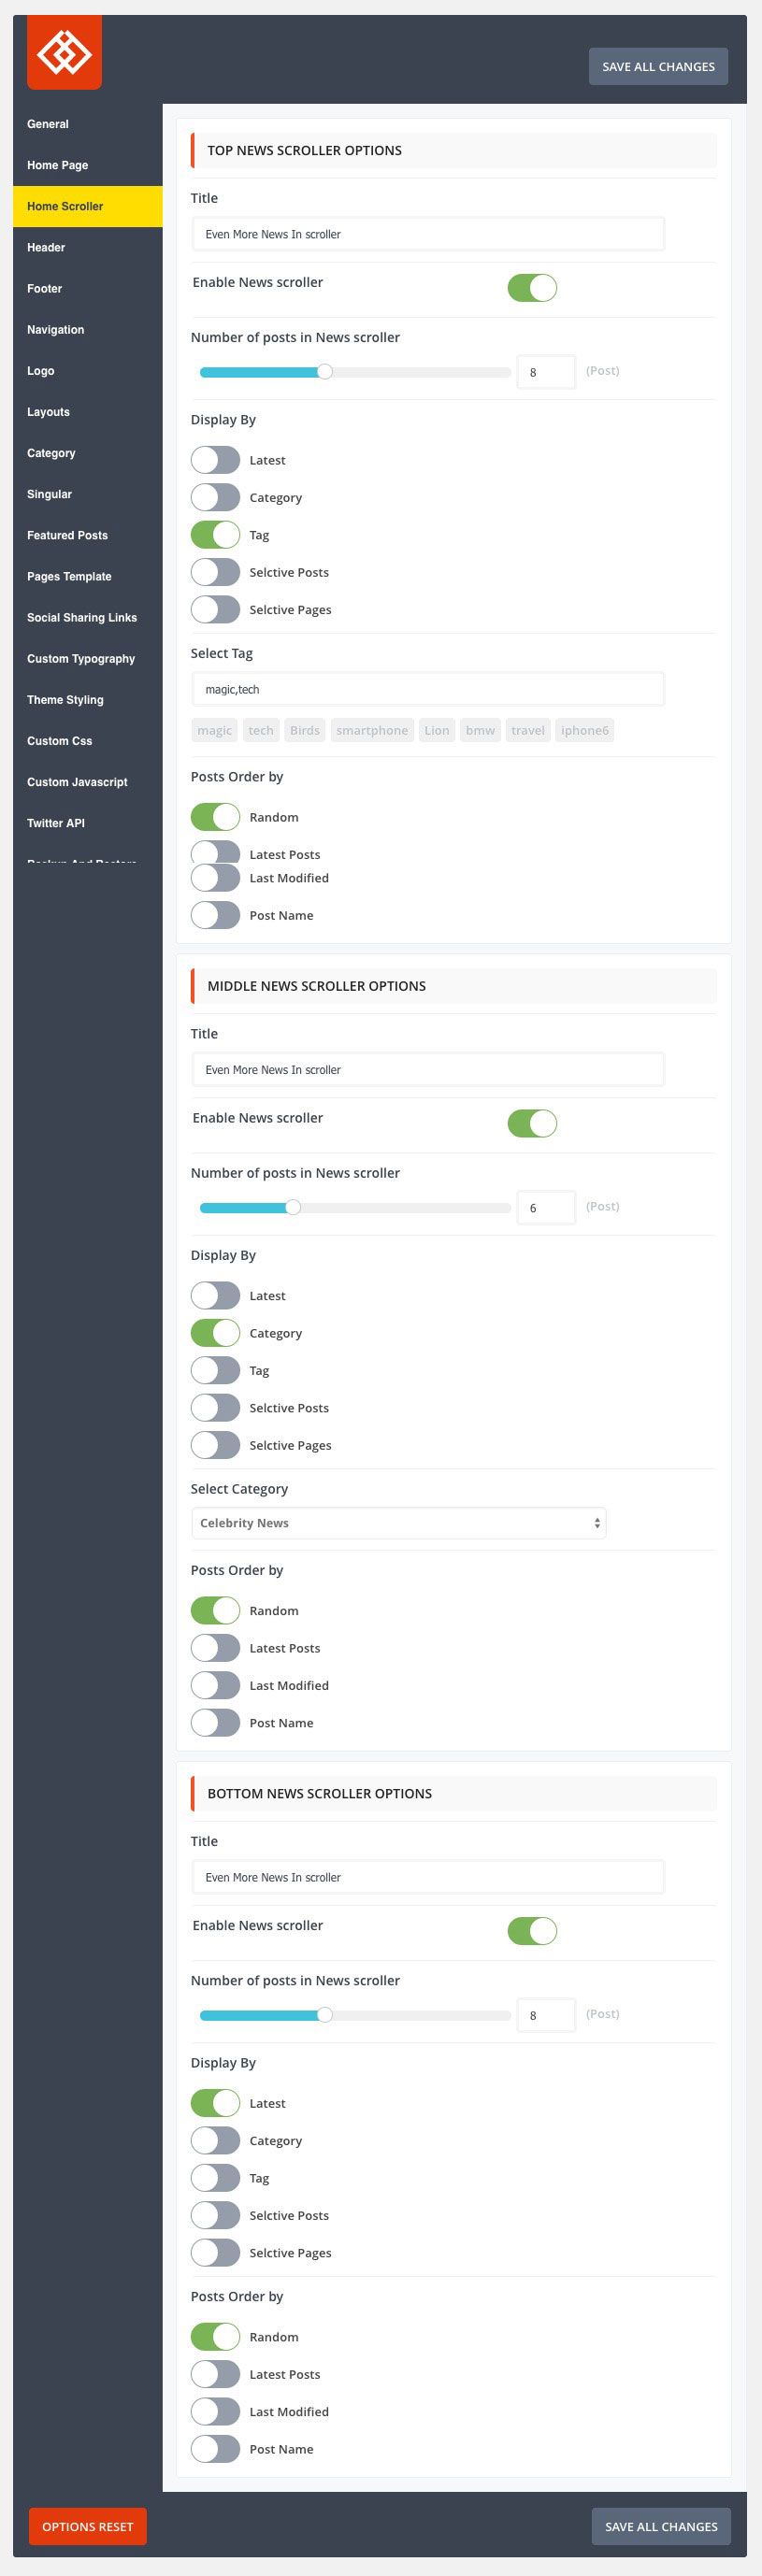 Home scroller Options
 Header Options
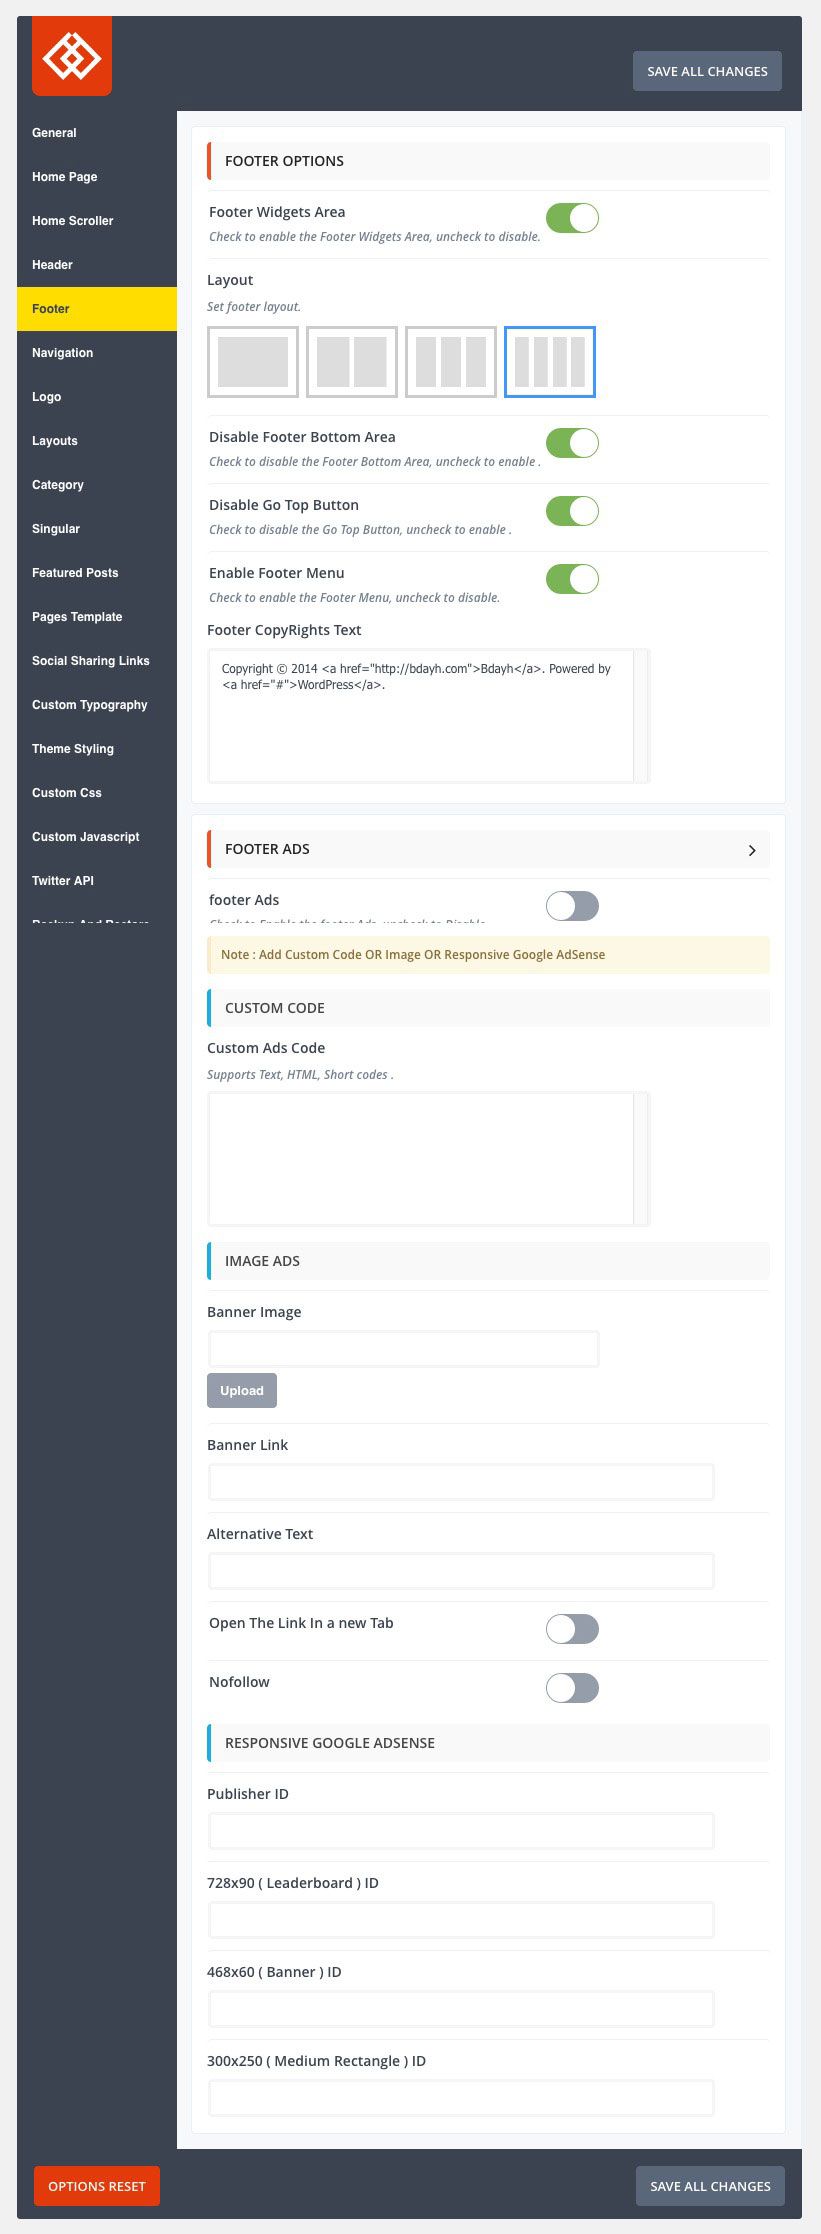 Footer Options
 Navigation Options
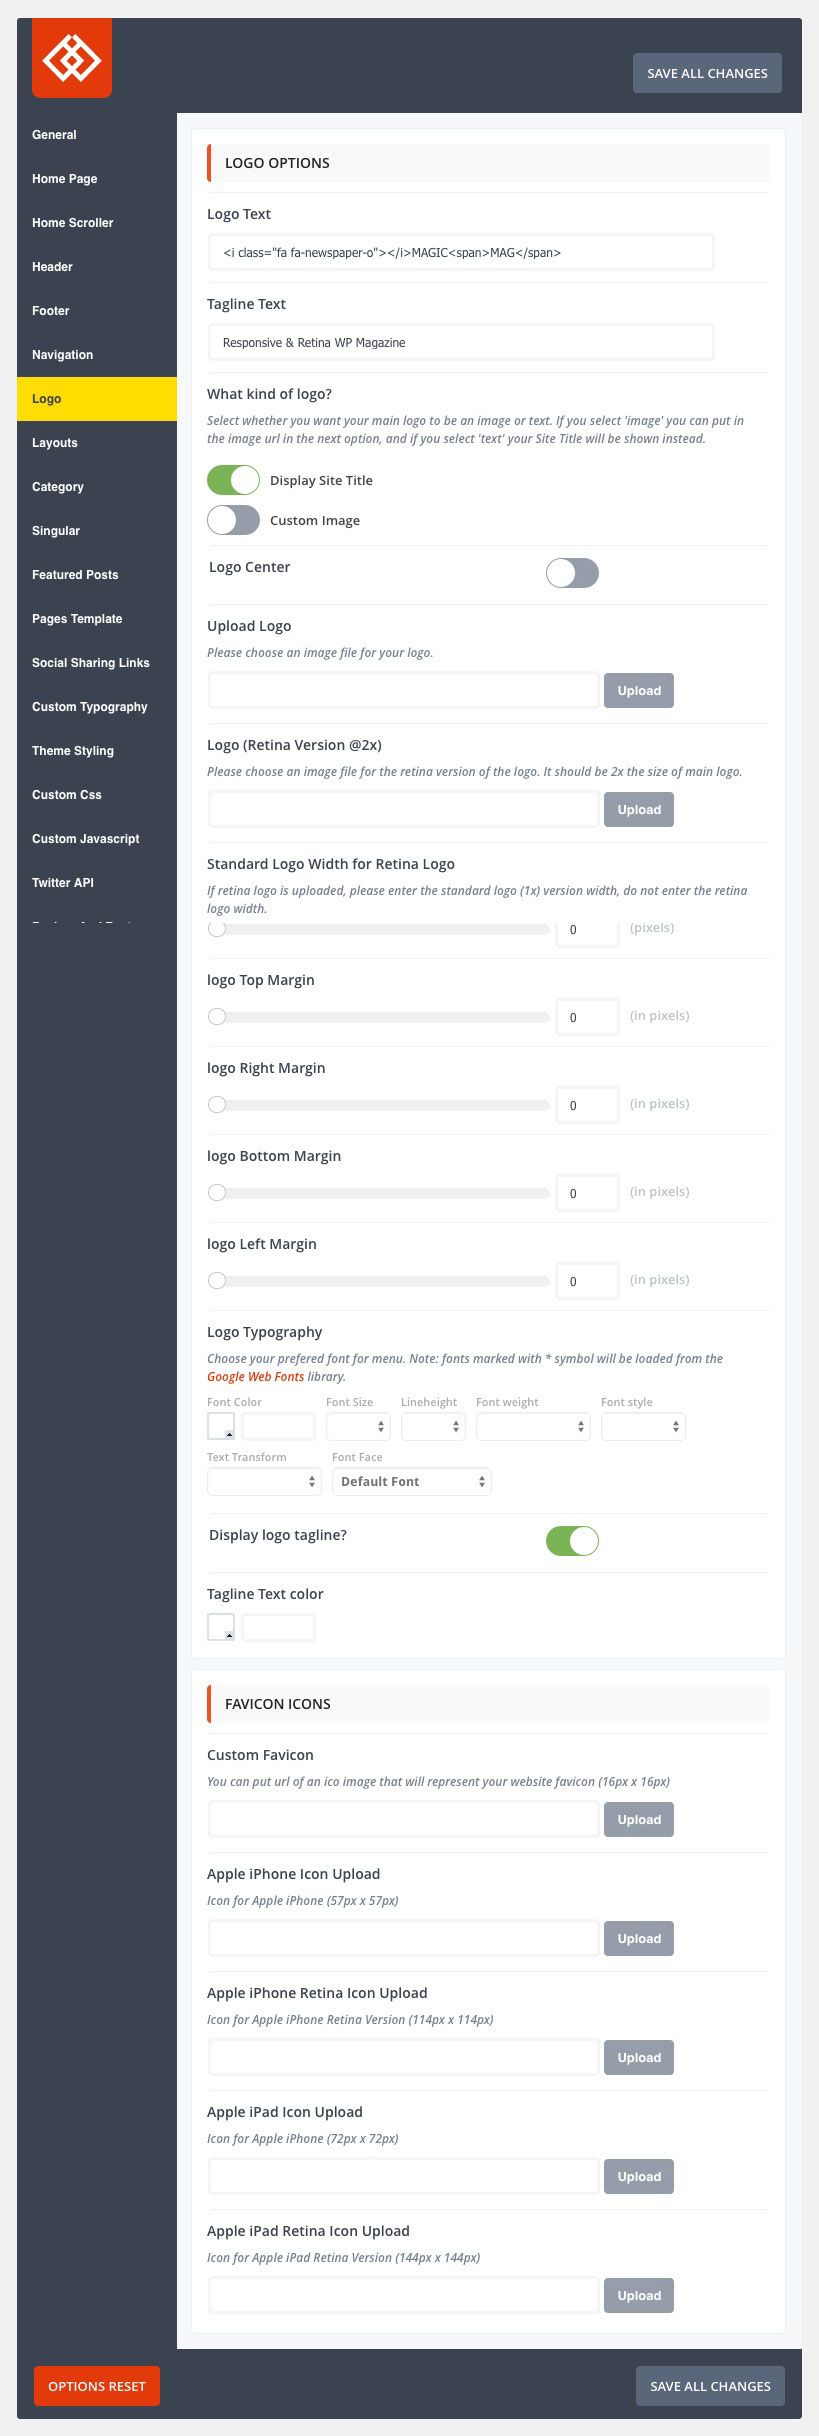 Logo Options
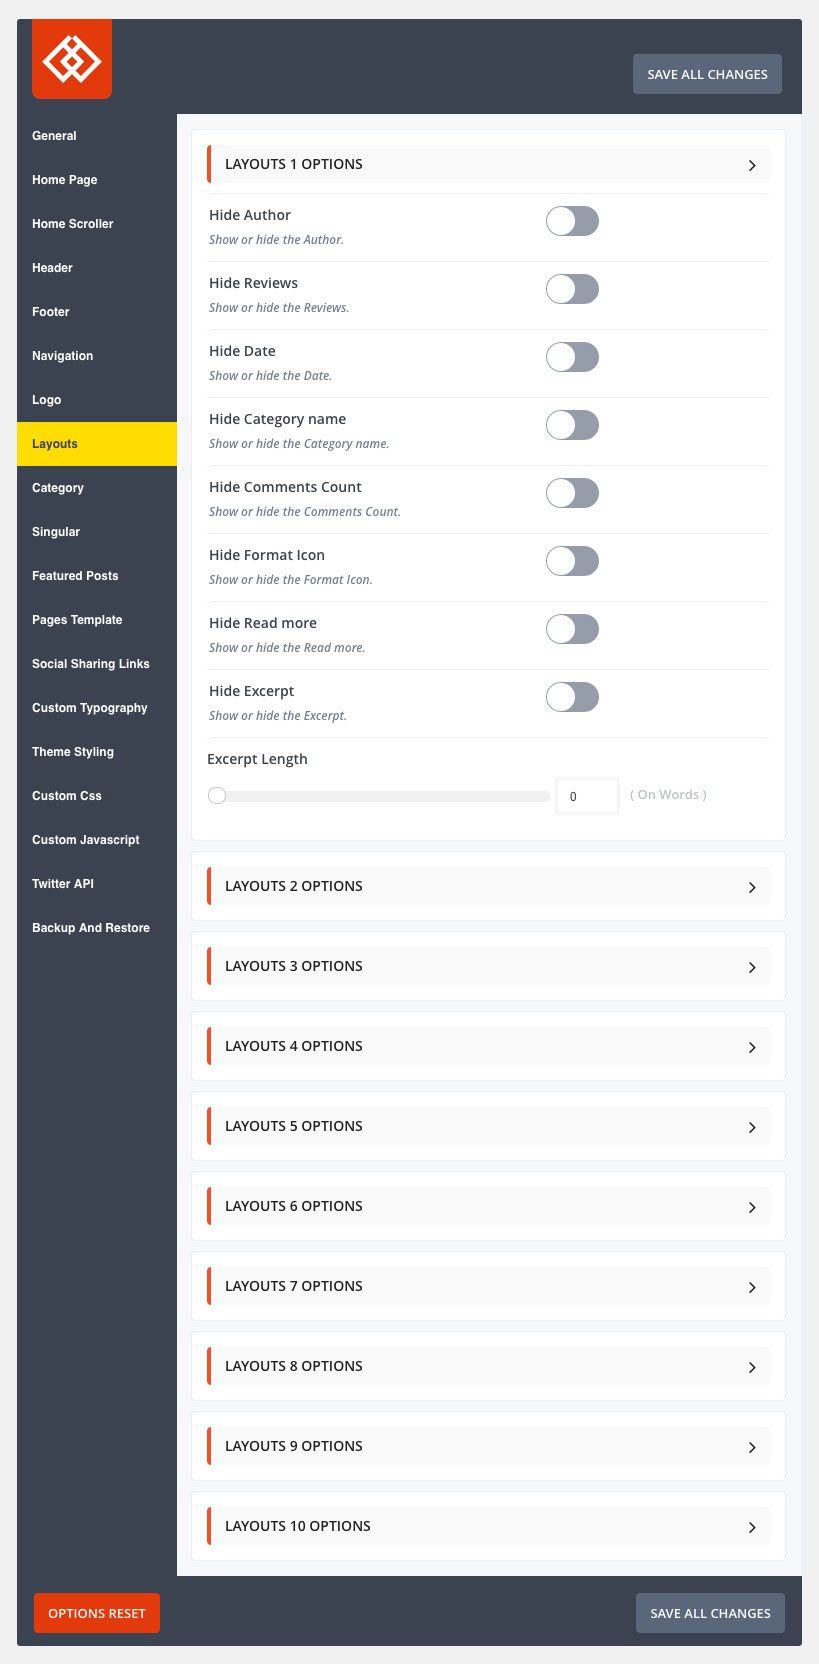 Layouts Options
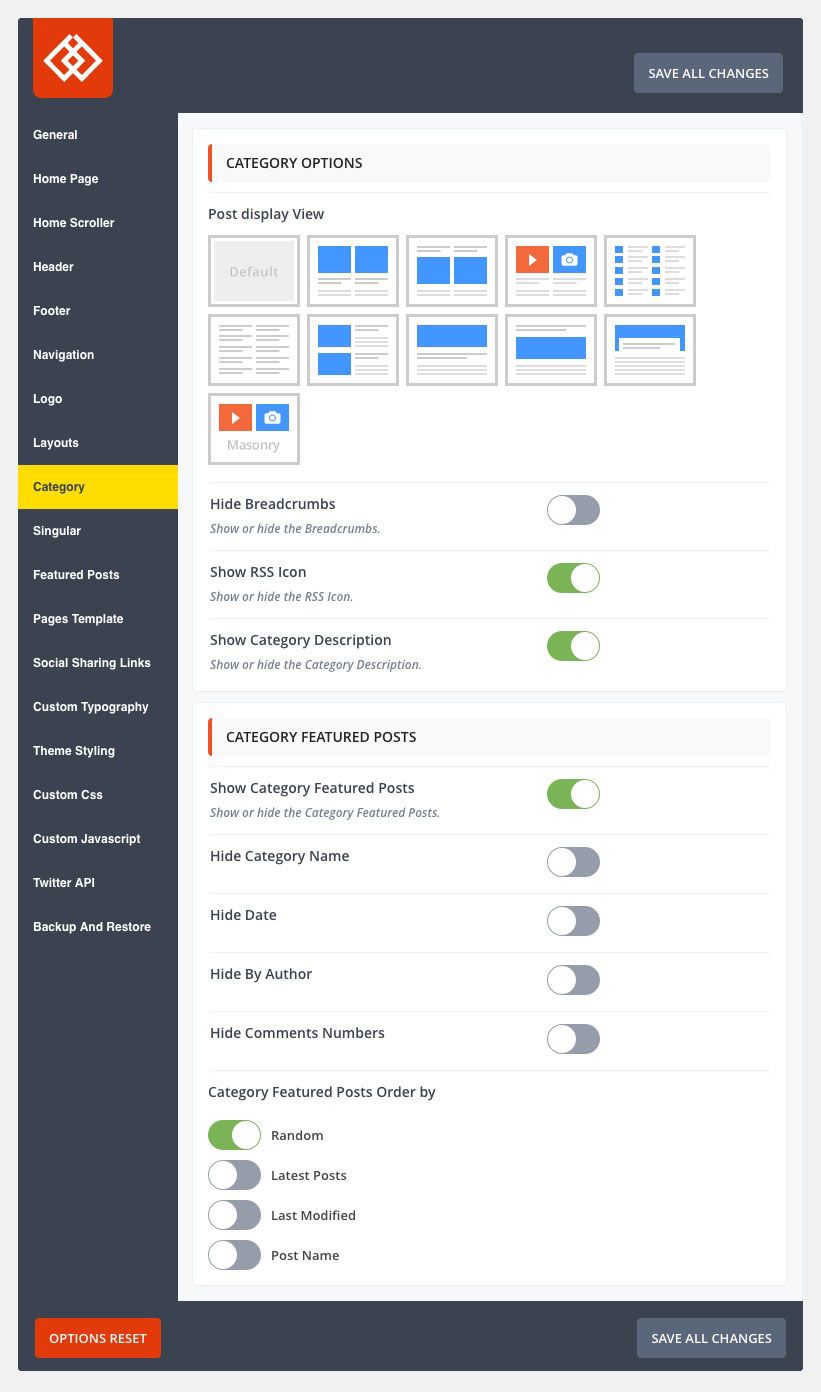 Category Options
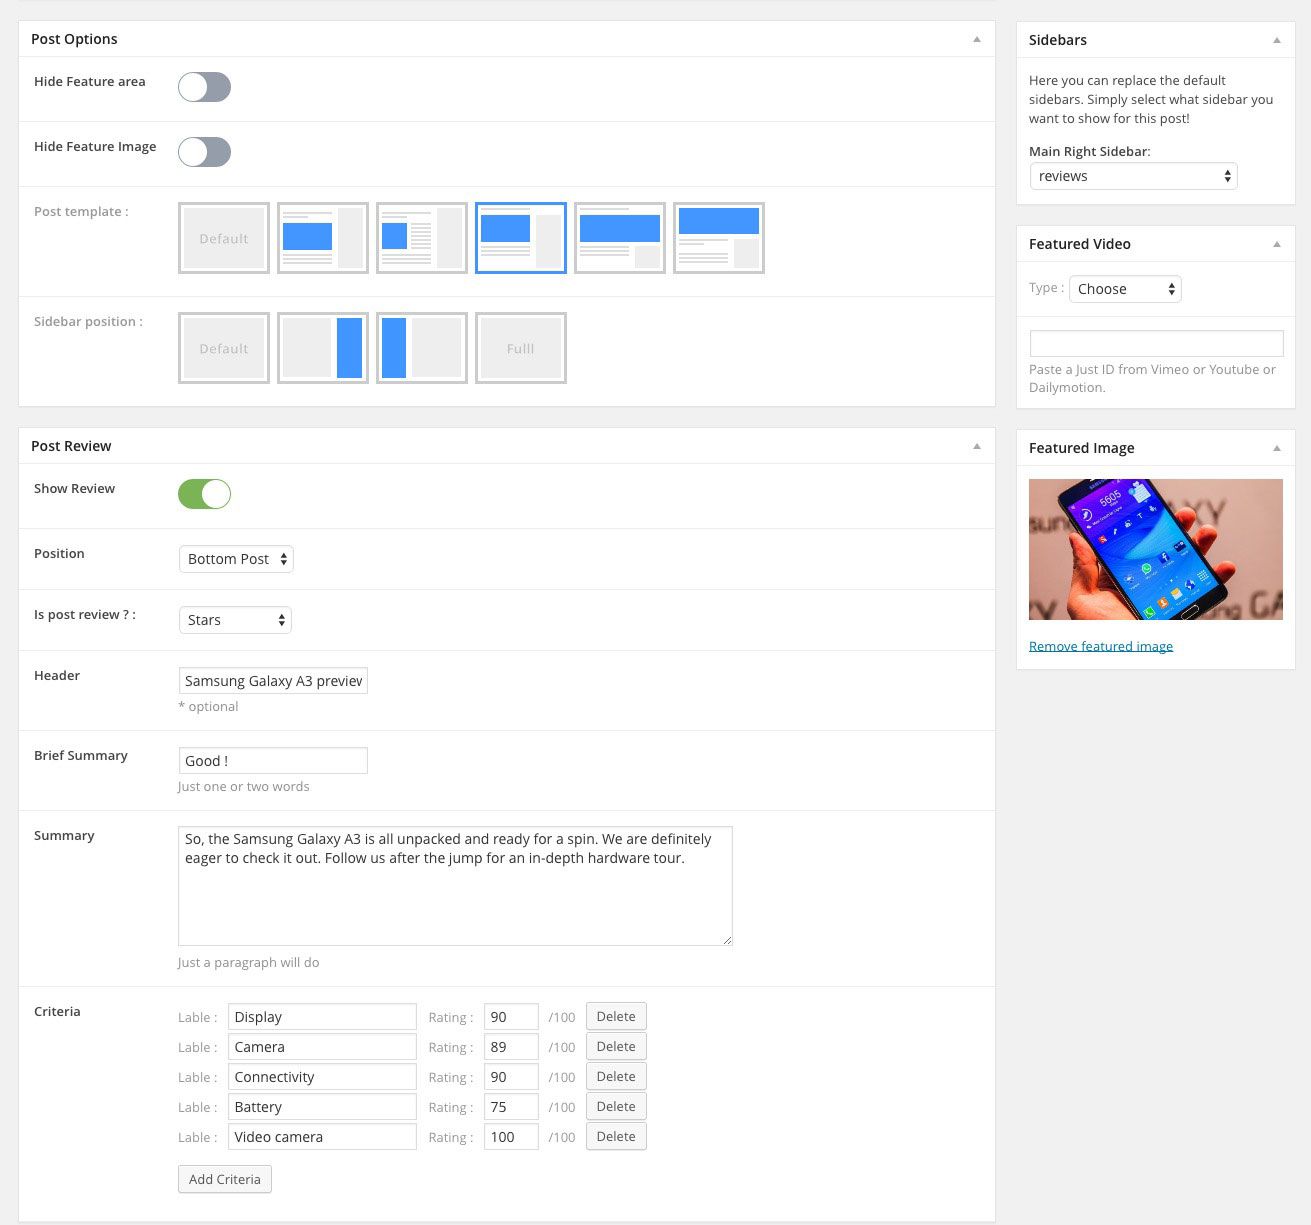
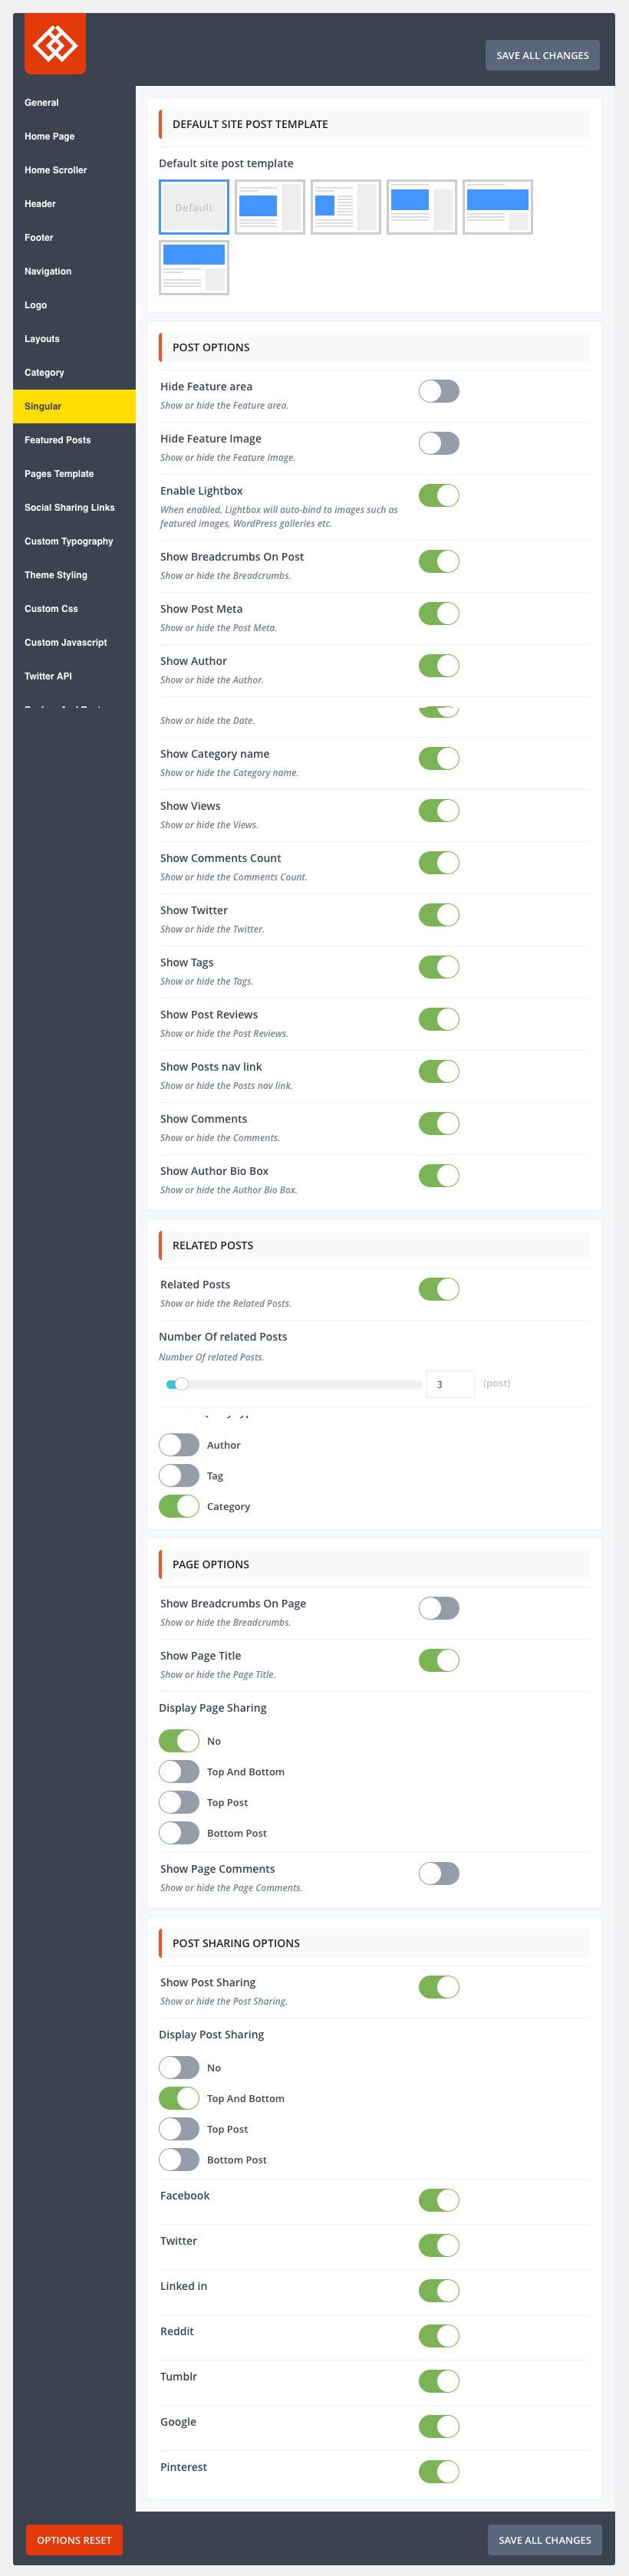 Singular Options
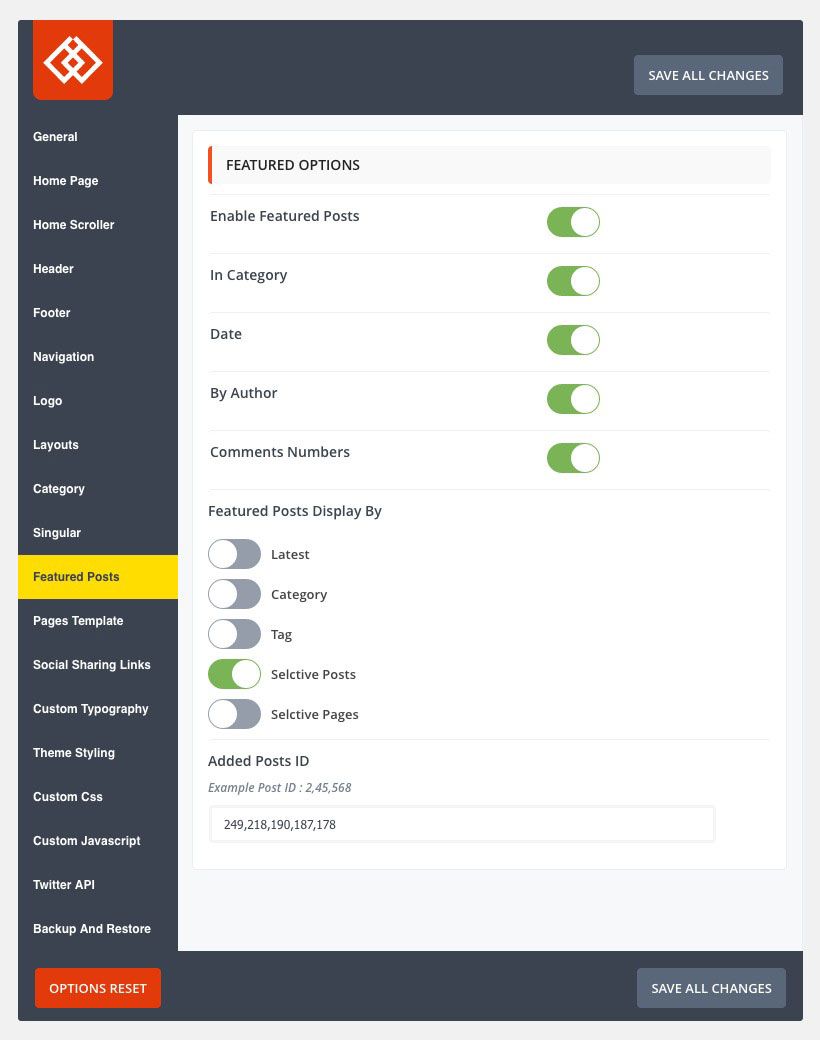 Featured posts Options
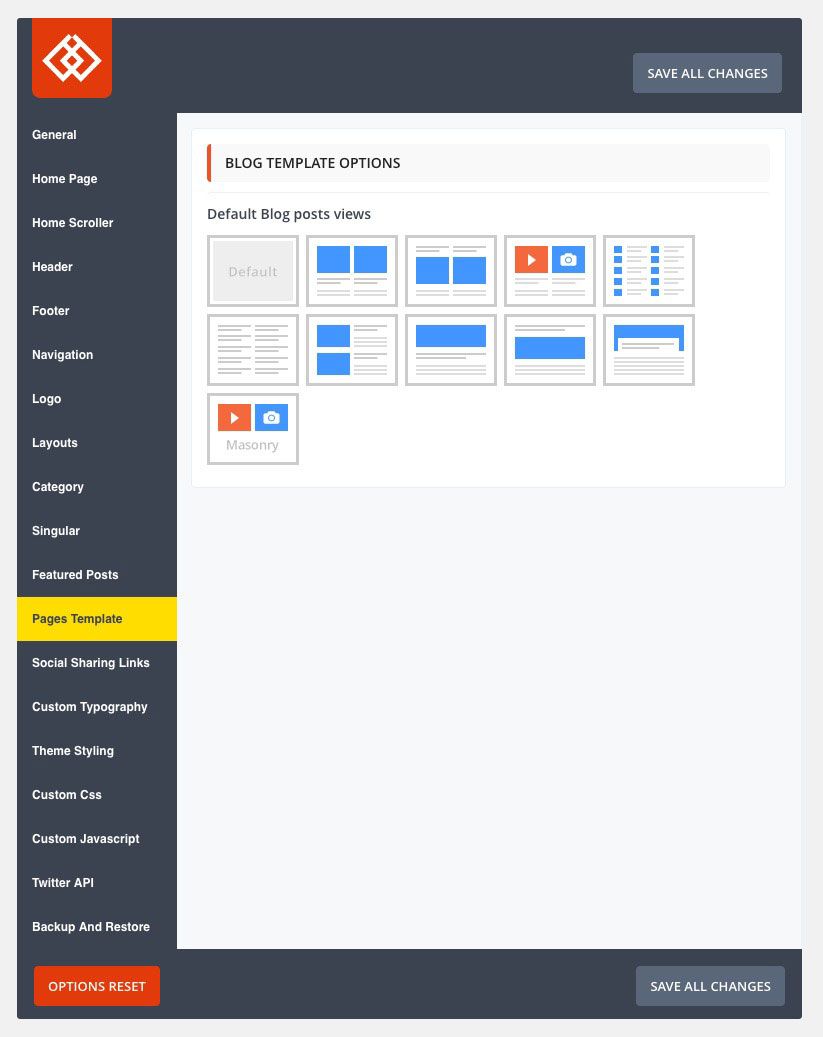 Pages template Options
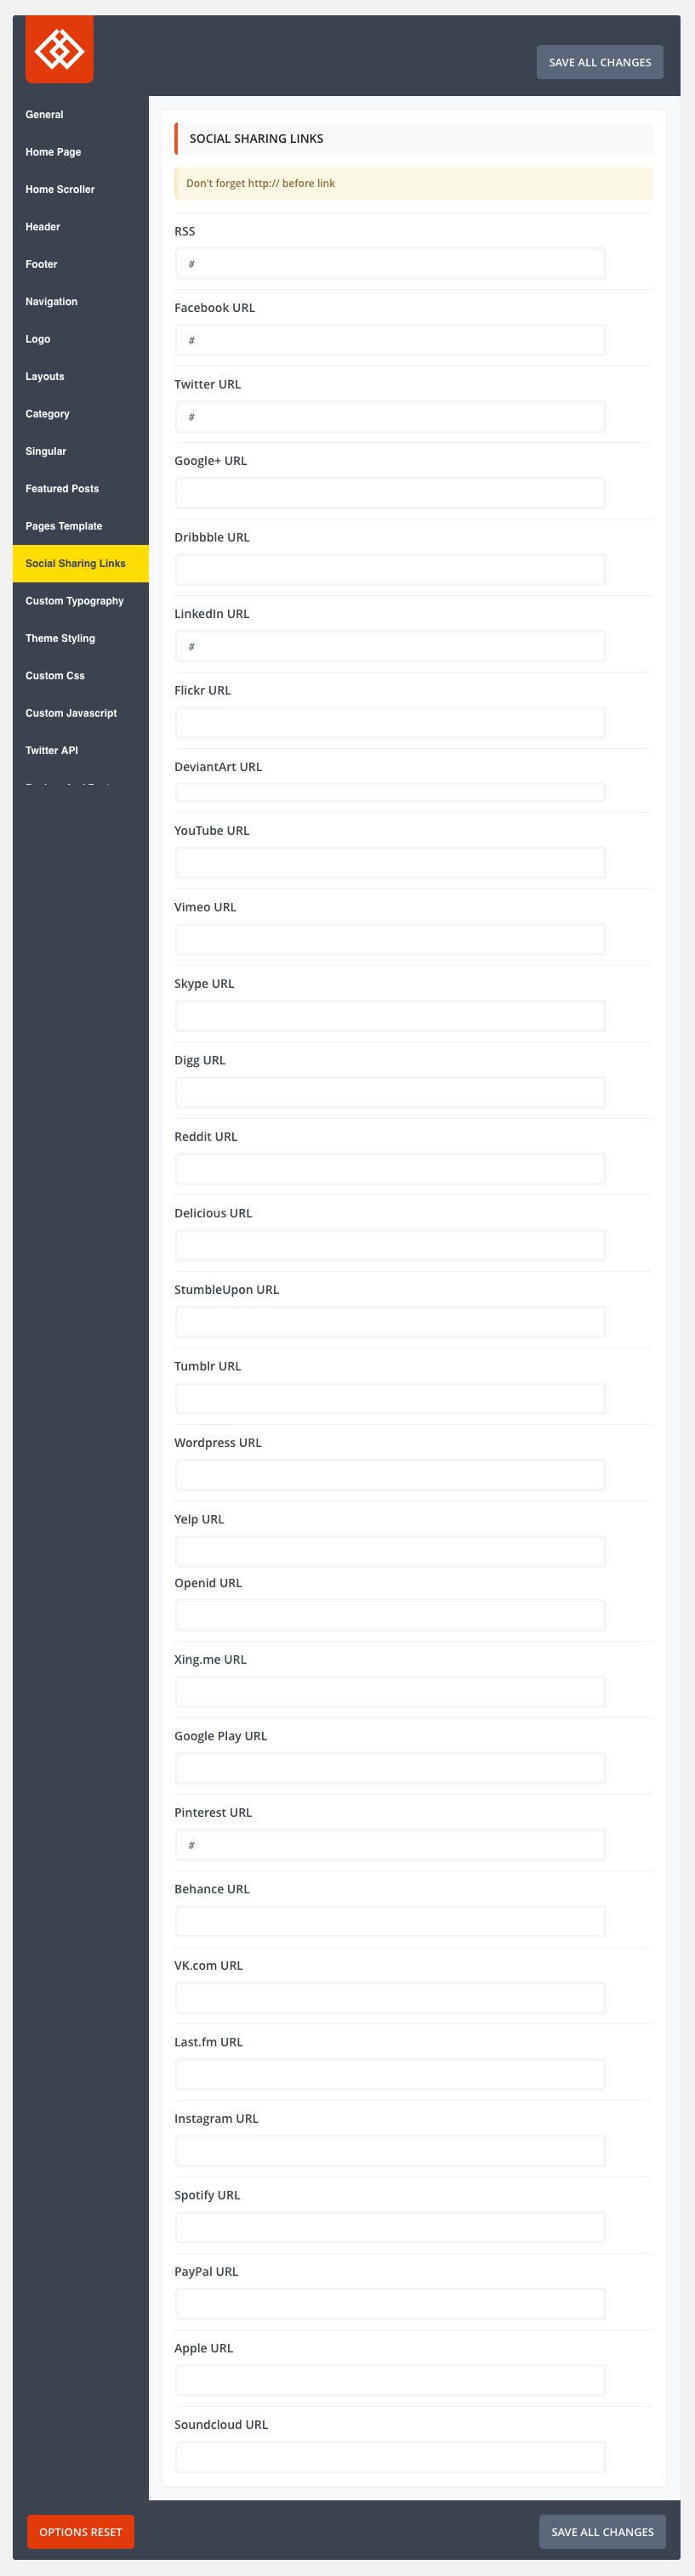 Social sharing links Options
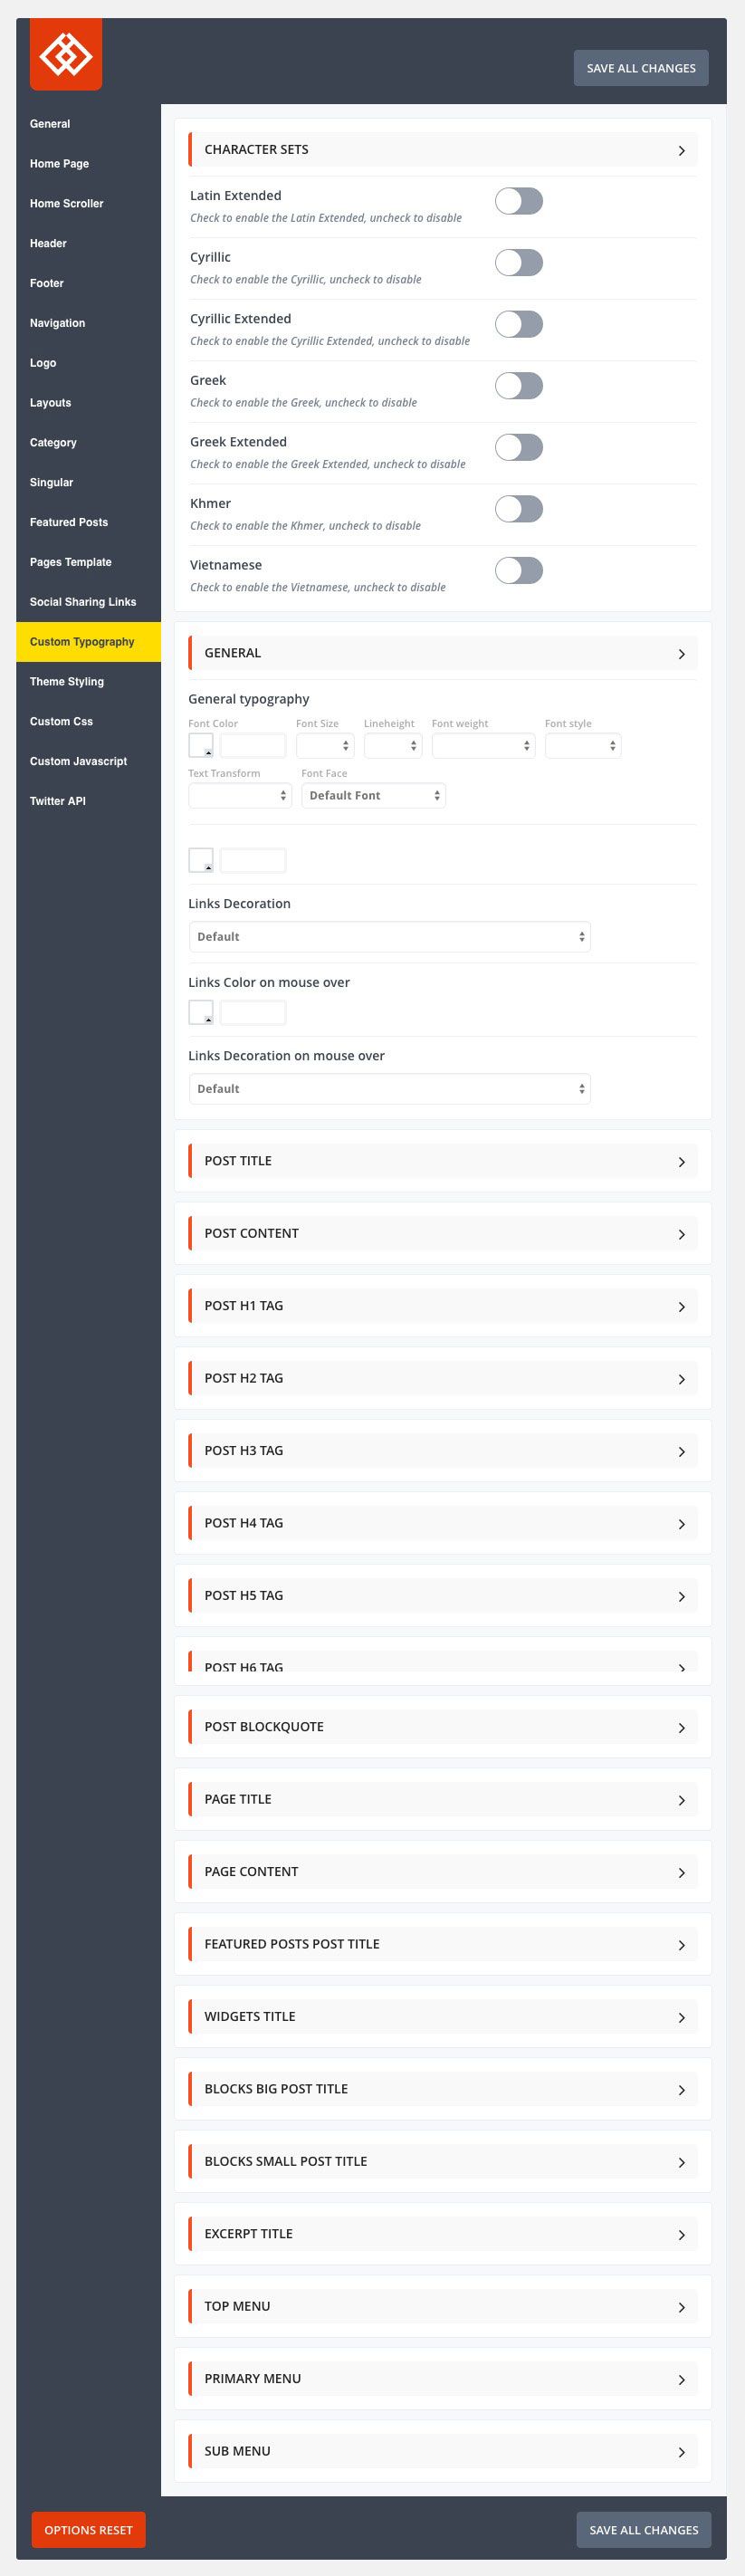 Custom typography Options
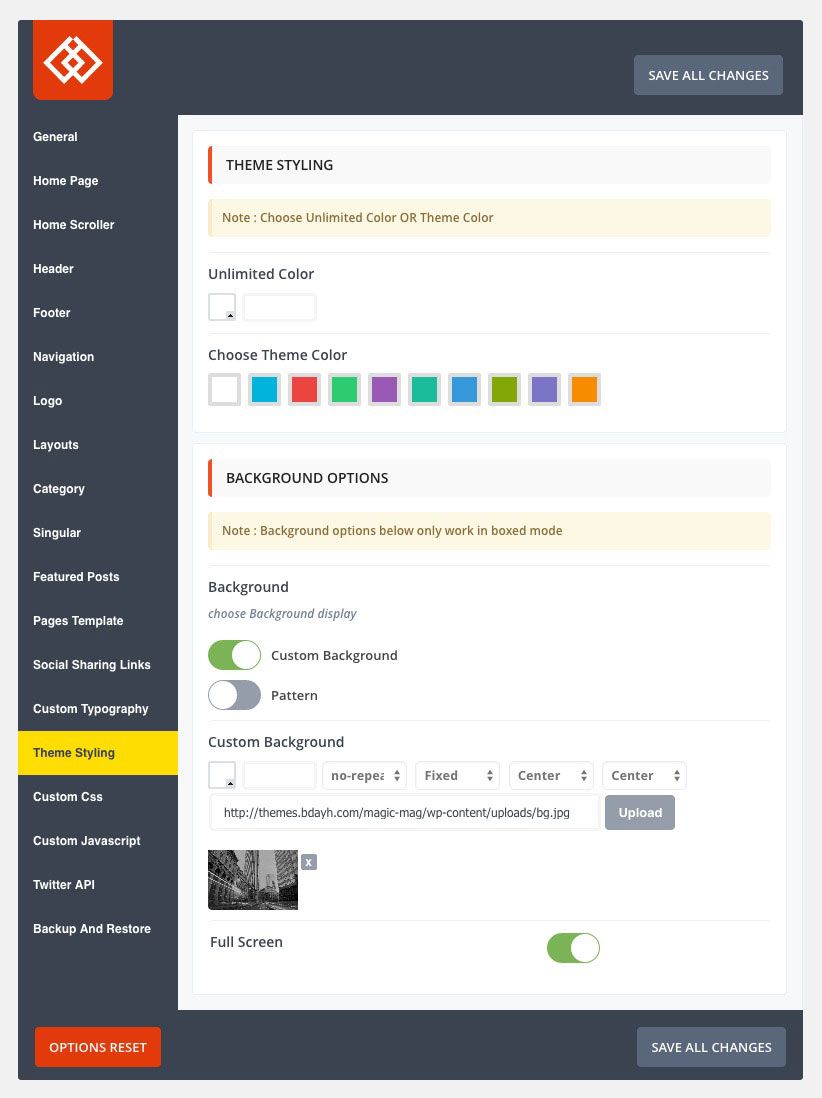 Theme styling Options
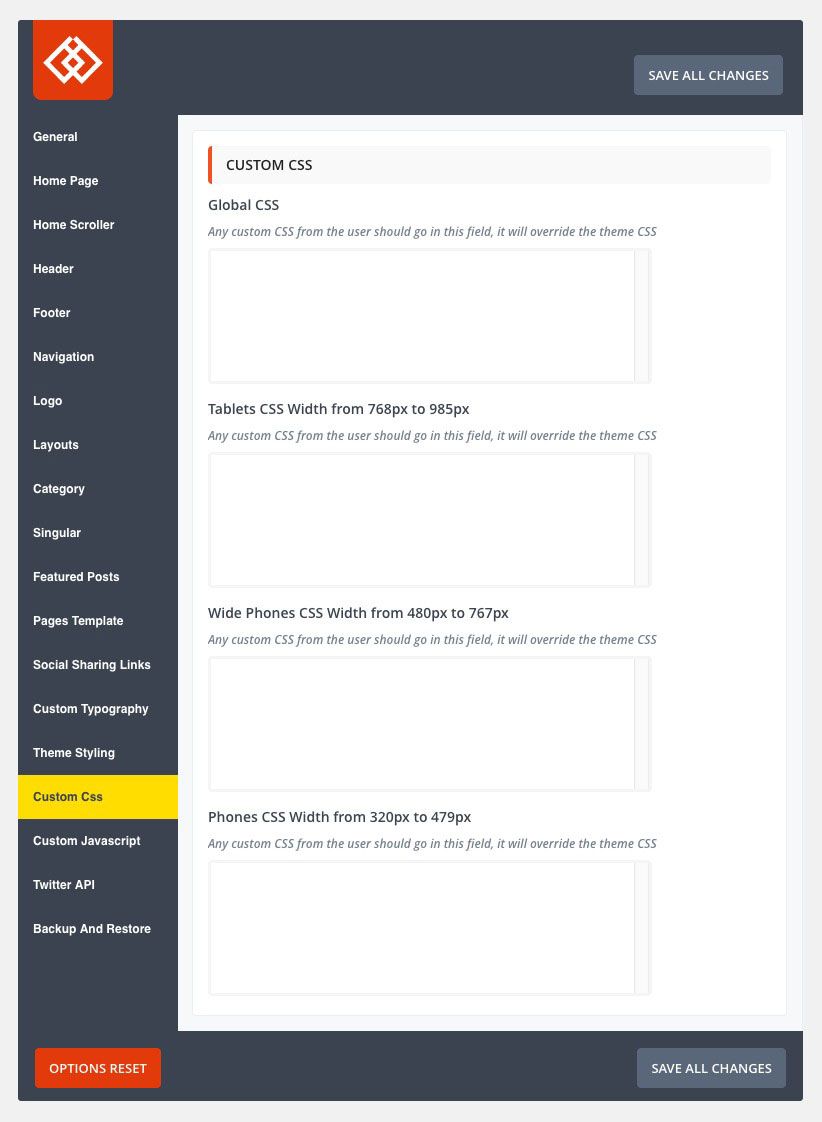 Custom css Options
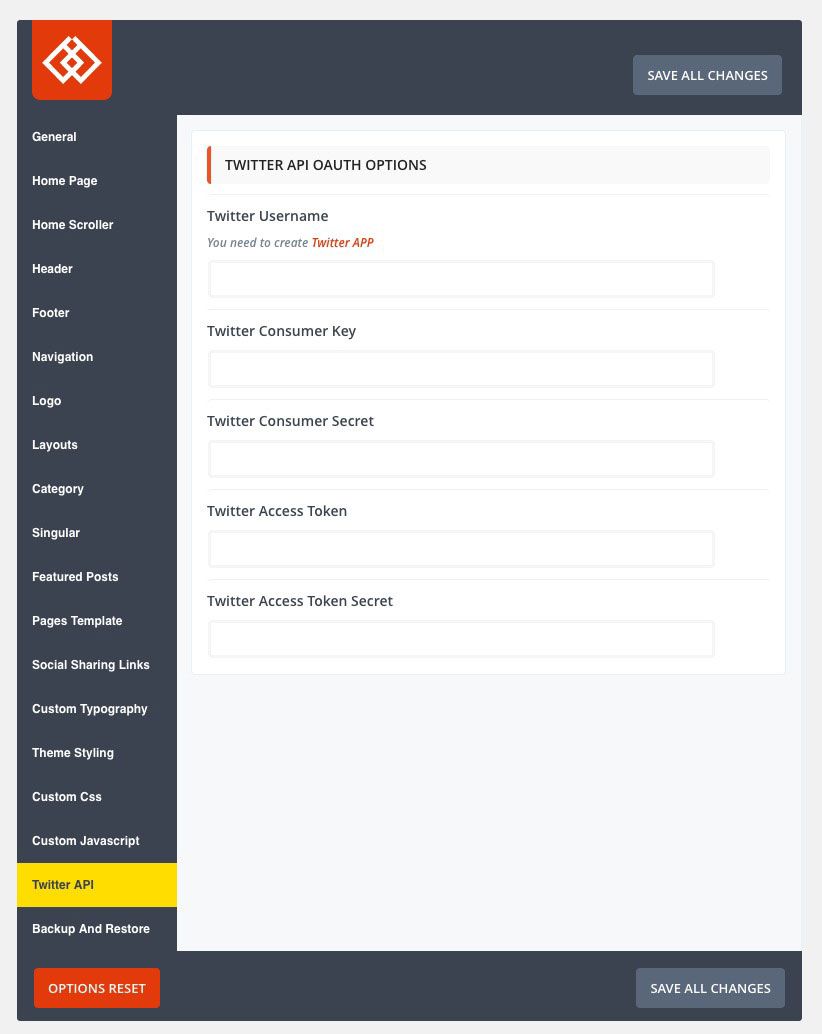 Twitter API Options
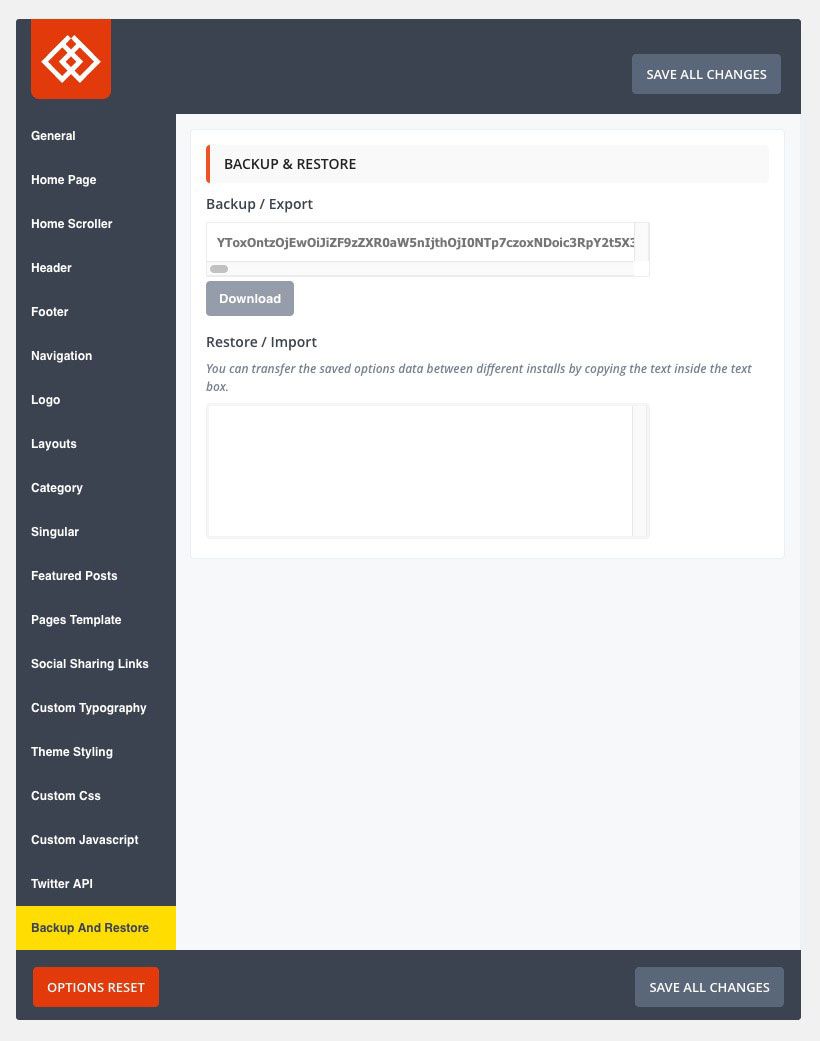 Backup and restore Options
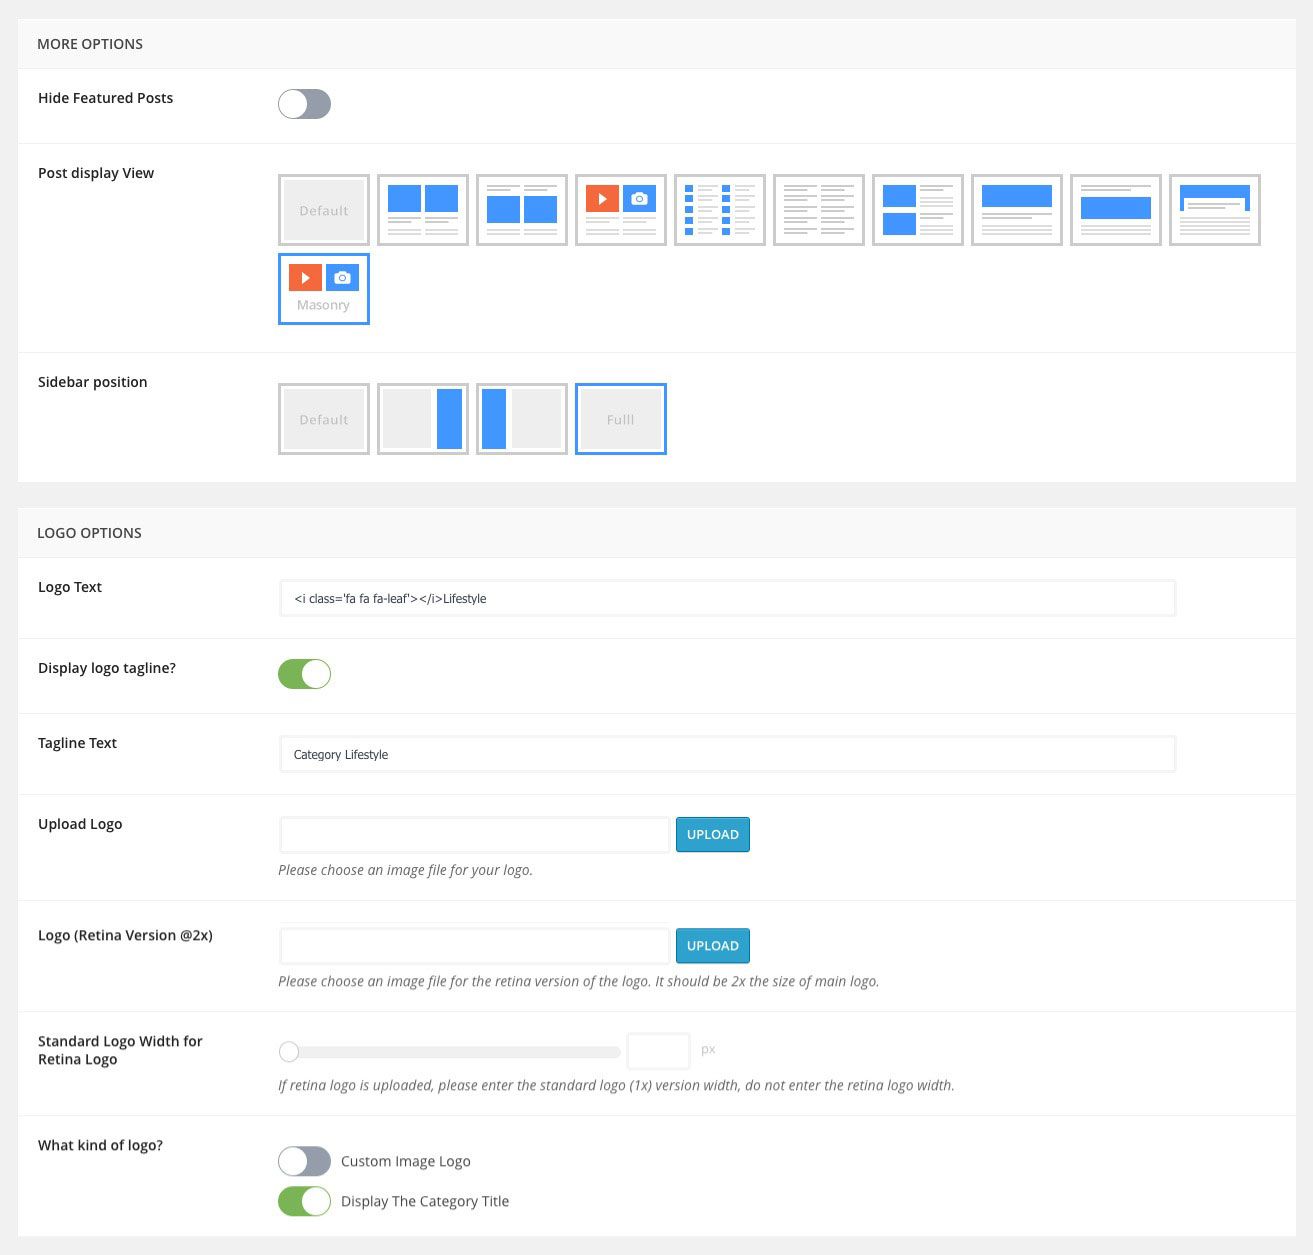
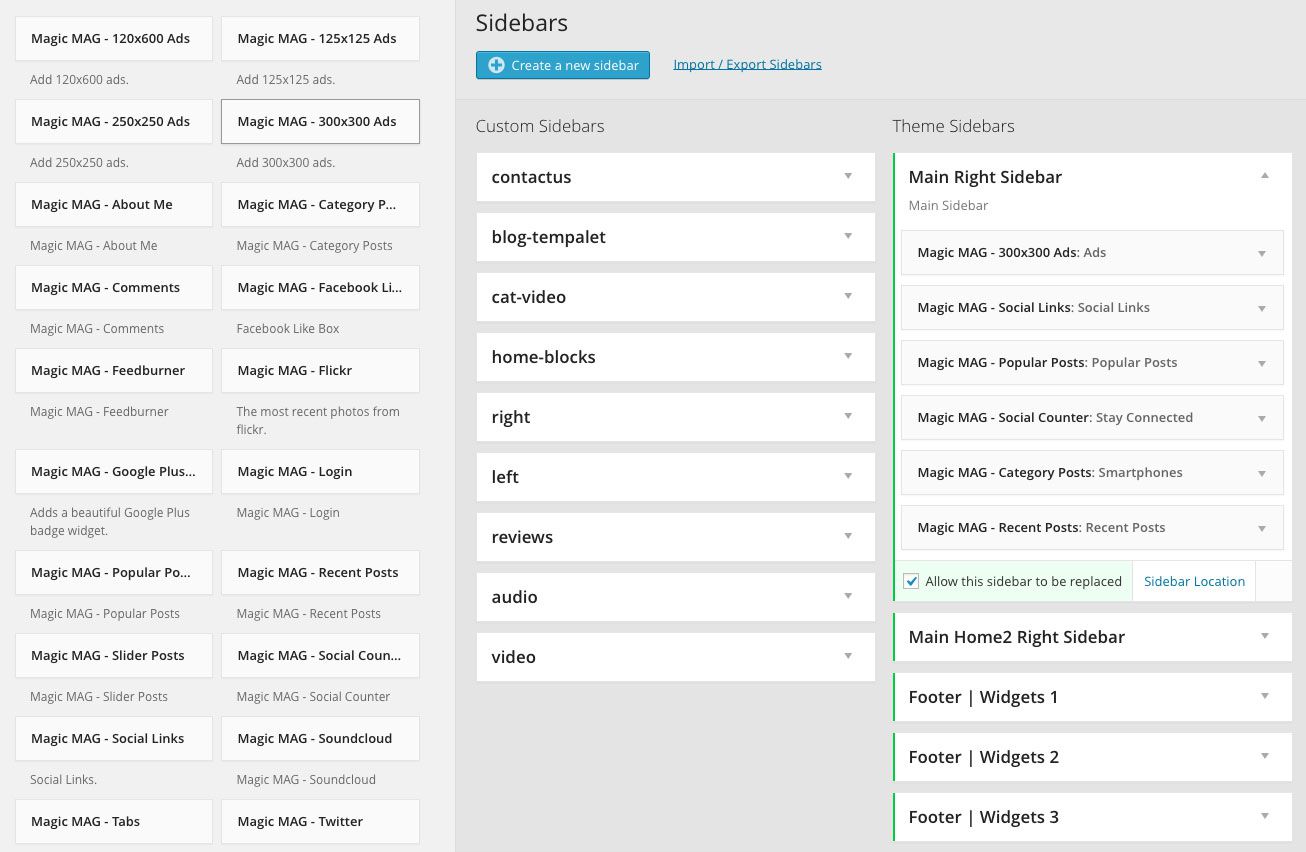
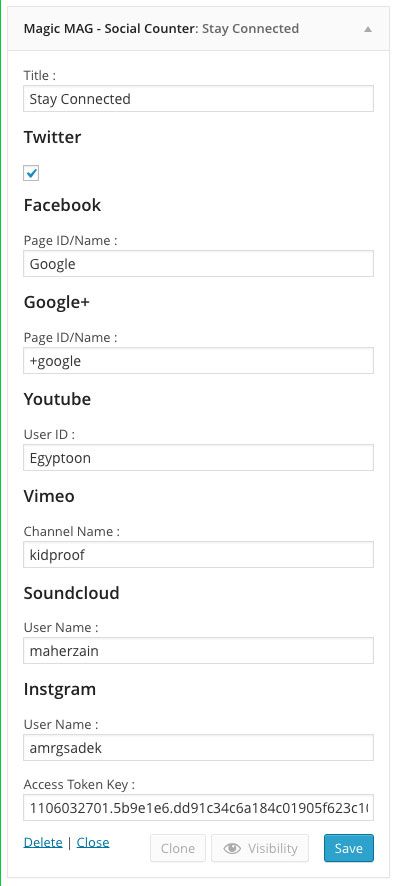 Social Counter Widget
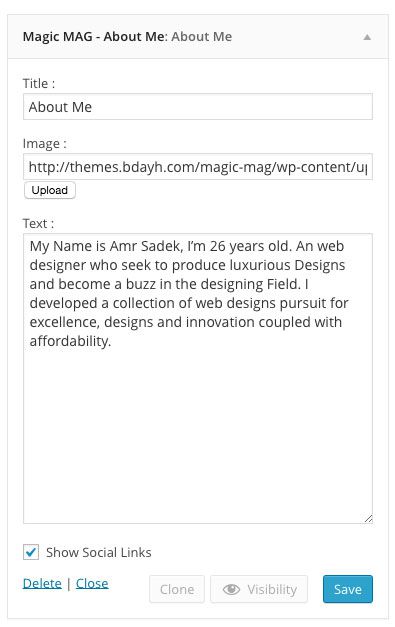 About Me Widget
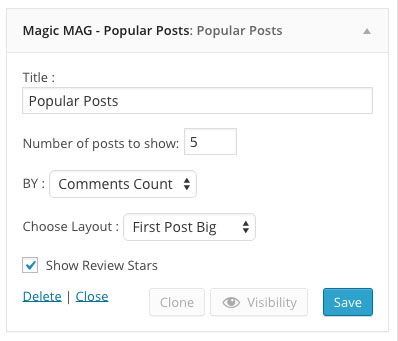 Popular Posts Widget
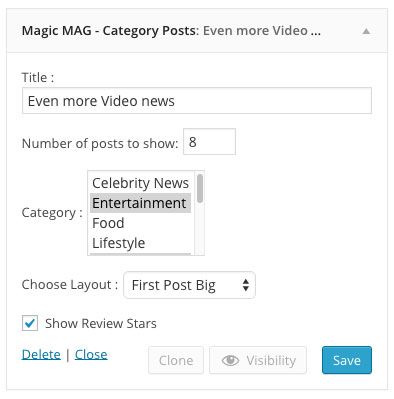 Category Posts Widget